Hello everyone! Over the last six-ish years or so, I’ve been discovering my high school’s seemingly ever-expanding volume of musical instruments and resources. Among these, is our small school’s upright piano, currently located in the drama room (Room 115).
It’s a Steinway Upright Essex with beautiful, delicate-sounding highs accompanied by crisp, resonant bass and mids. If you are a pianist at BASIS Scottsdale, I highly recommend checking it out at some point in the future if you haven’t already.
Unfortunately, with our school’s piano teacher having left almost two years ago, it’s been left in a bit of a state of disrepair. Outside of being generally dusty and out of tune, the instrument also featured a broken Eb4 key and disconnected sostenuto pedal.
A couple of days ago, my school’s band teacher invited me to help him repair and tune the piano. I wanted to use this space here on Musitech blog to record our process and share any cool things I learn or discover along the way.
So without further ado, let’s begin!
Step 1: Deconstruction
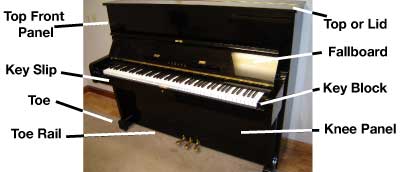 Labelled external parts of an upright piano, courtesy of pianoguidelessons.com
We headed to the Drama room after school last Thursday. After unlocking and uncovering the piano, we took off the Top Front Panel, Fallboard, and Knee Panel so that we could directly access the internal mechanisms of the instrument. We then moved the removed components onto a ground cloth so that they wouldn’t get scuffed.
Step 2: Dusting
After taking off these external covers, our next step was to take care of the layer of dust that had been building over the last several months. Using an electric air duster, I air hosed down the keys, strings to clean it up a bit before we moved on to the next steps.
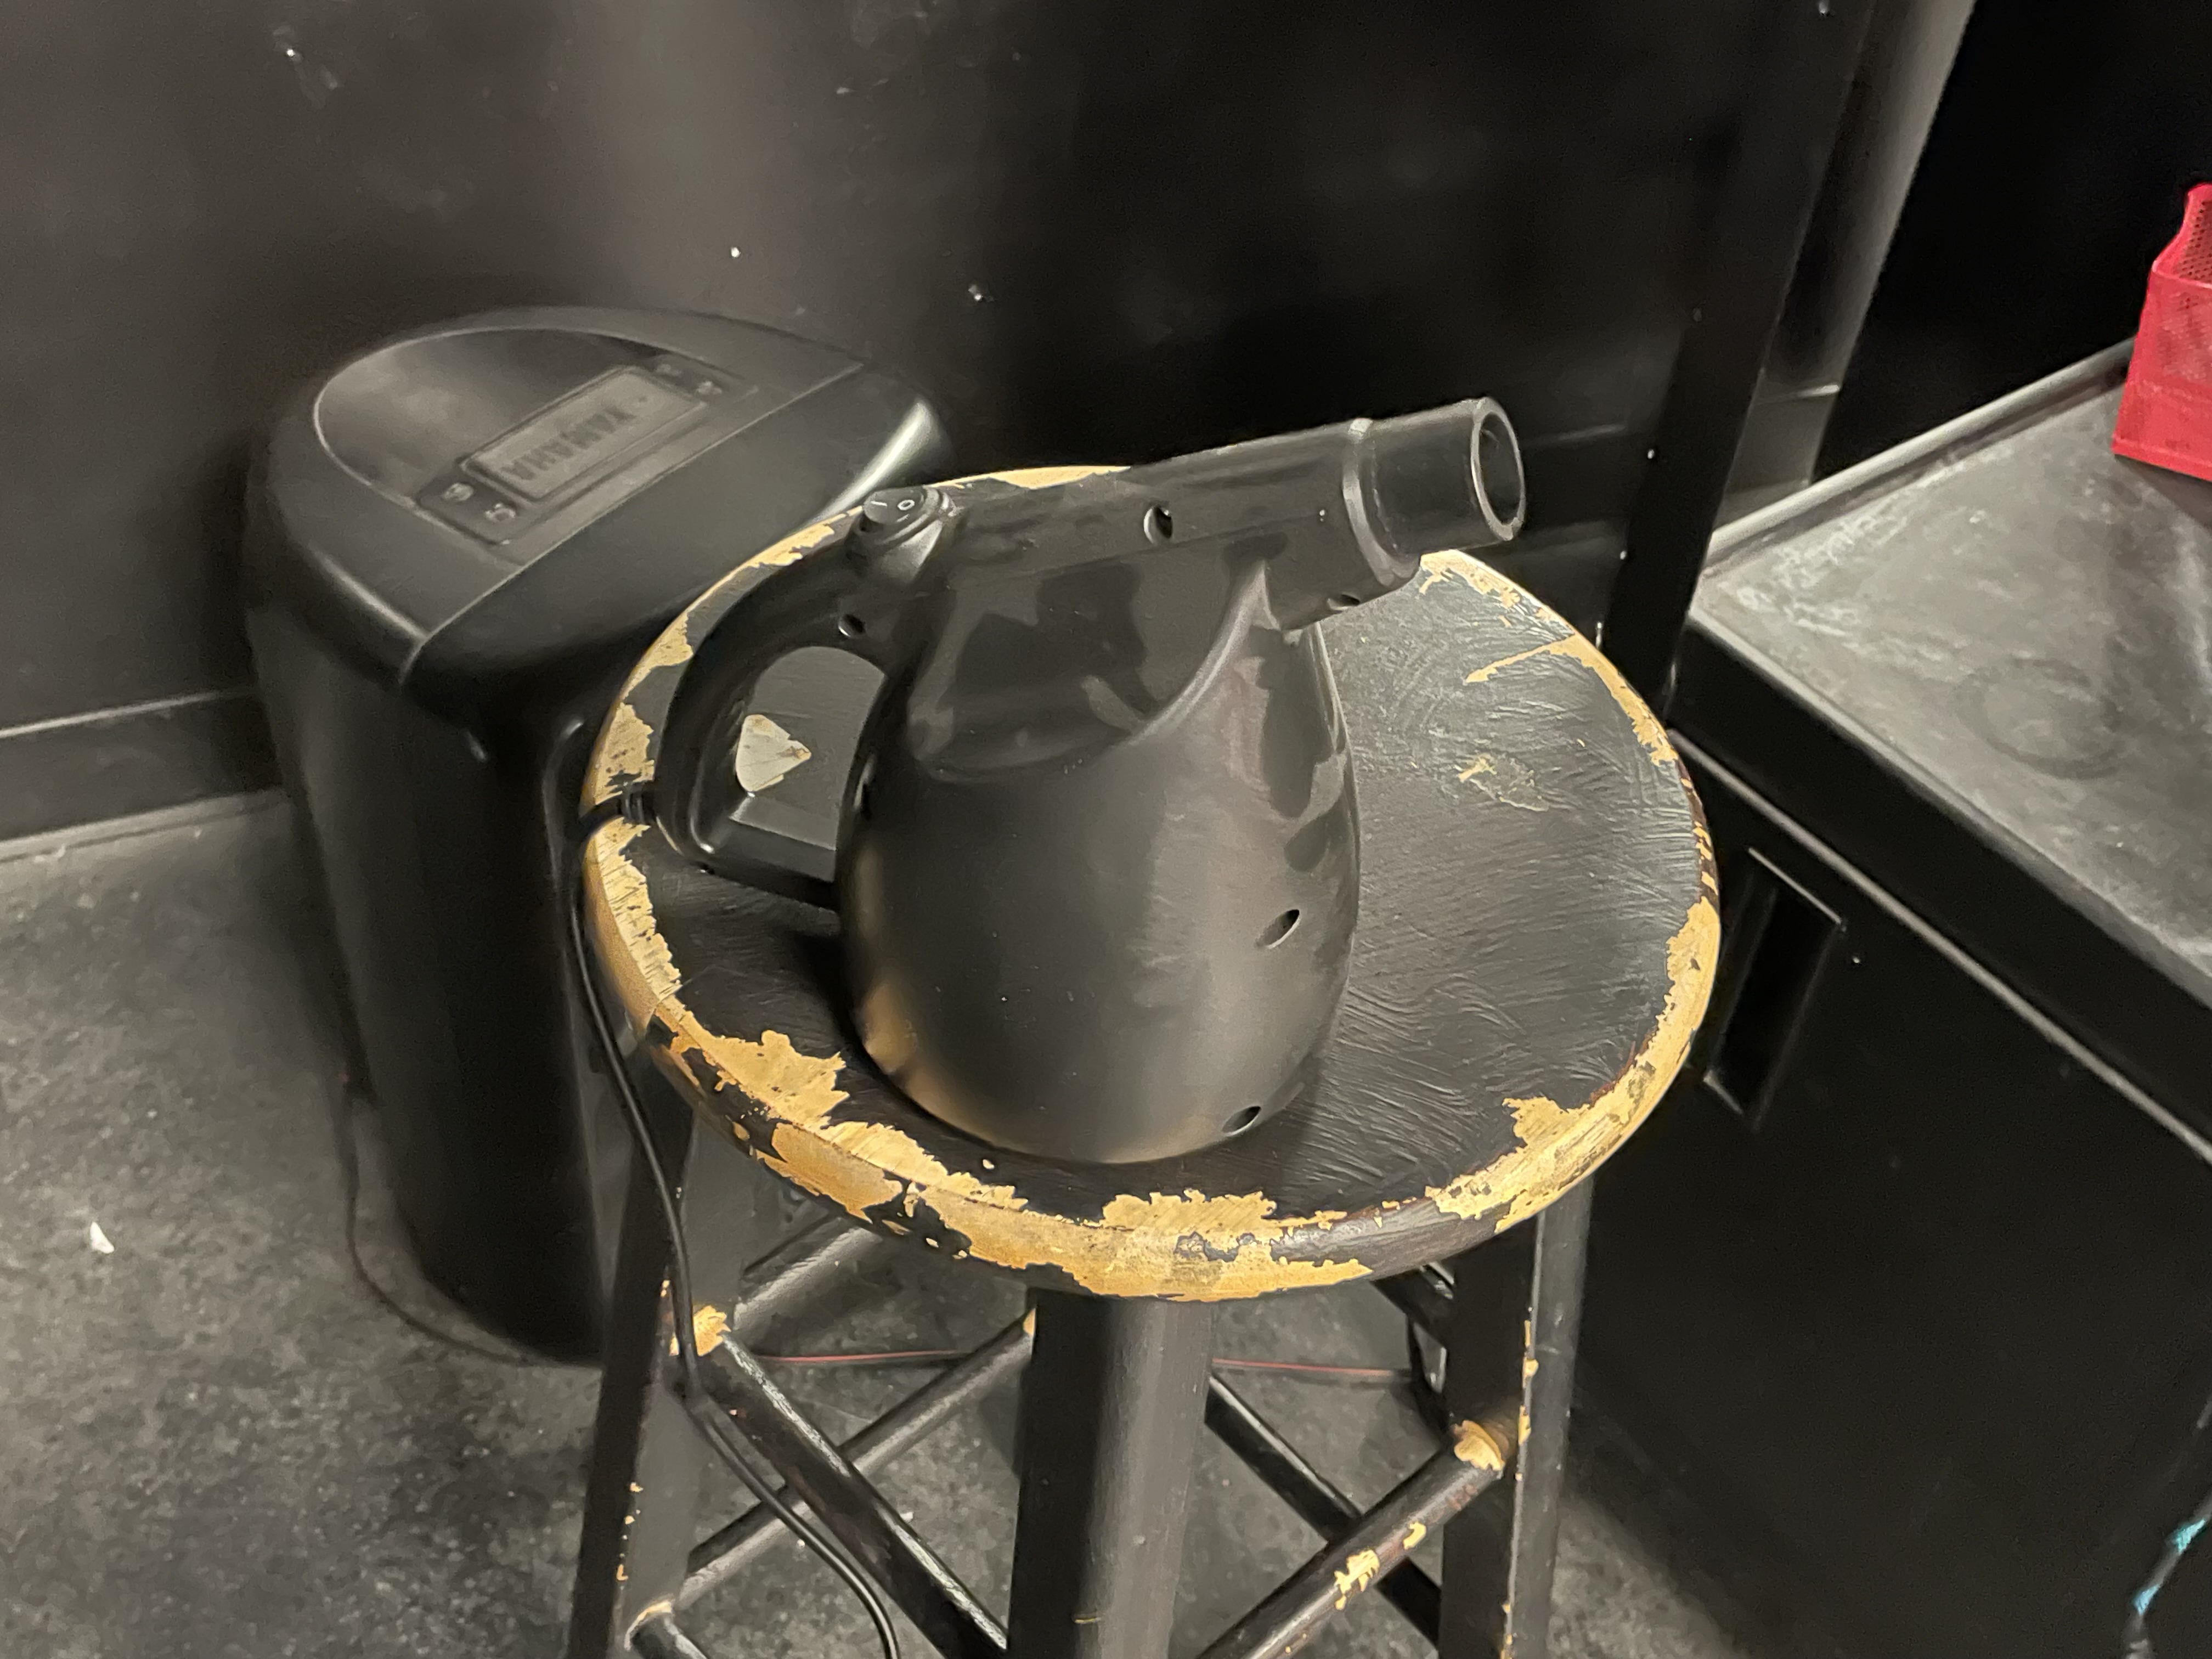 Our Dusty Electric Air Duster. VROOM!
Step 3: Easy Repairs
One thing we immediately noticed after we opened up the instrument was this rod coming up from the pedal area just sitting loosely next to the hammers.
Taking a look beneath the bottom panel, we saw that the rod was not inserted on top of a pedal connector:
A little bit more fiddling around, and we discovered that this was connected to the middle Sostenuto pedal.
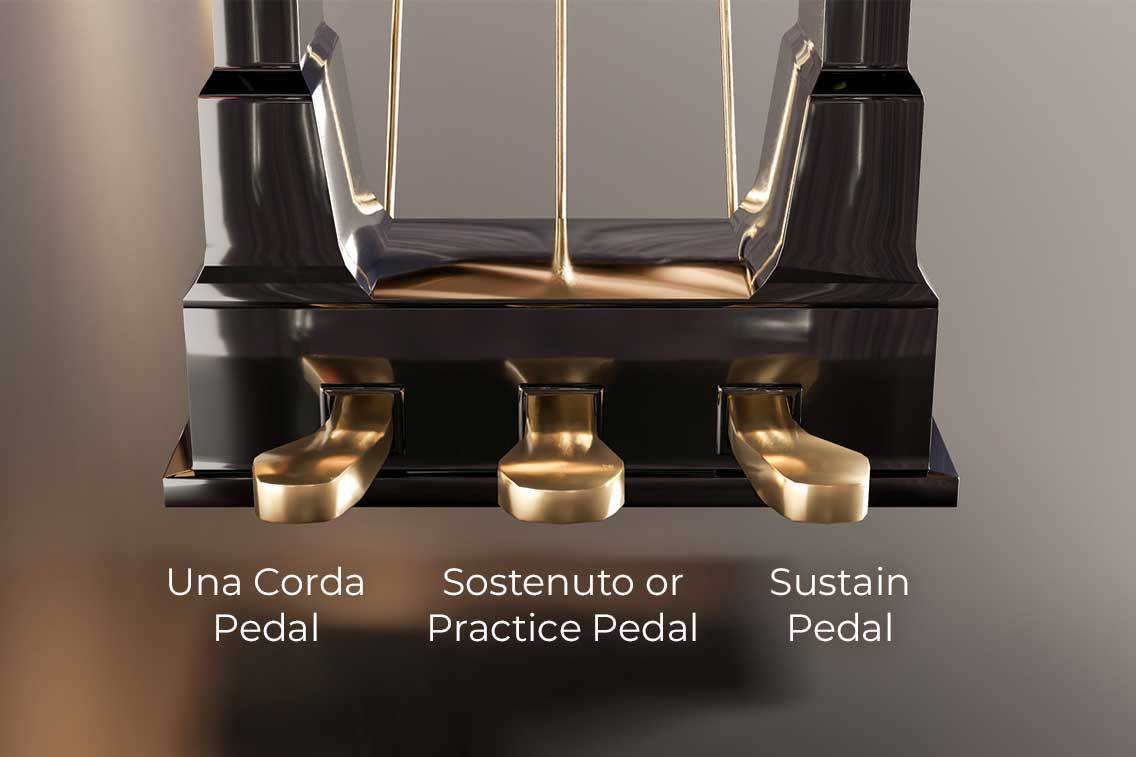 Labelled Diagram of Piano Pedals. Image Source
On higher end pianos, like this one, the middle pedals have the Sostenuto effect, which is similar to the right/ sustain pedal except that it will only sustain the notes being held when the pedal is pressed, and will not hold notes played after it was initially trigger.
Small Tangent: after talking to a couple other pianists that also messed around with this piano in the past, none of us realized that the middle pedal was broken until we saw the disconnected pole inside. Given that most of us have never played a piano with a Sostenuto pedal, or have had to learn about it for repertoire pieces, we each just thought that the pedal was having it’s intended effect of sustaining currently held notes and that our inability to hear any difference was the result of our aural inexperience. Once we fixed the mechanical issue, however, the pedal’s intended effect became infinitely more apparent.
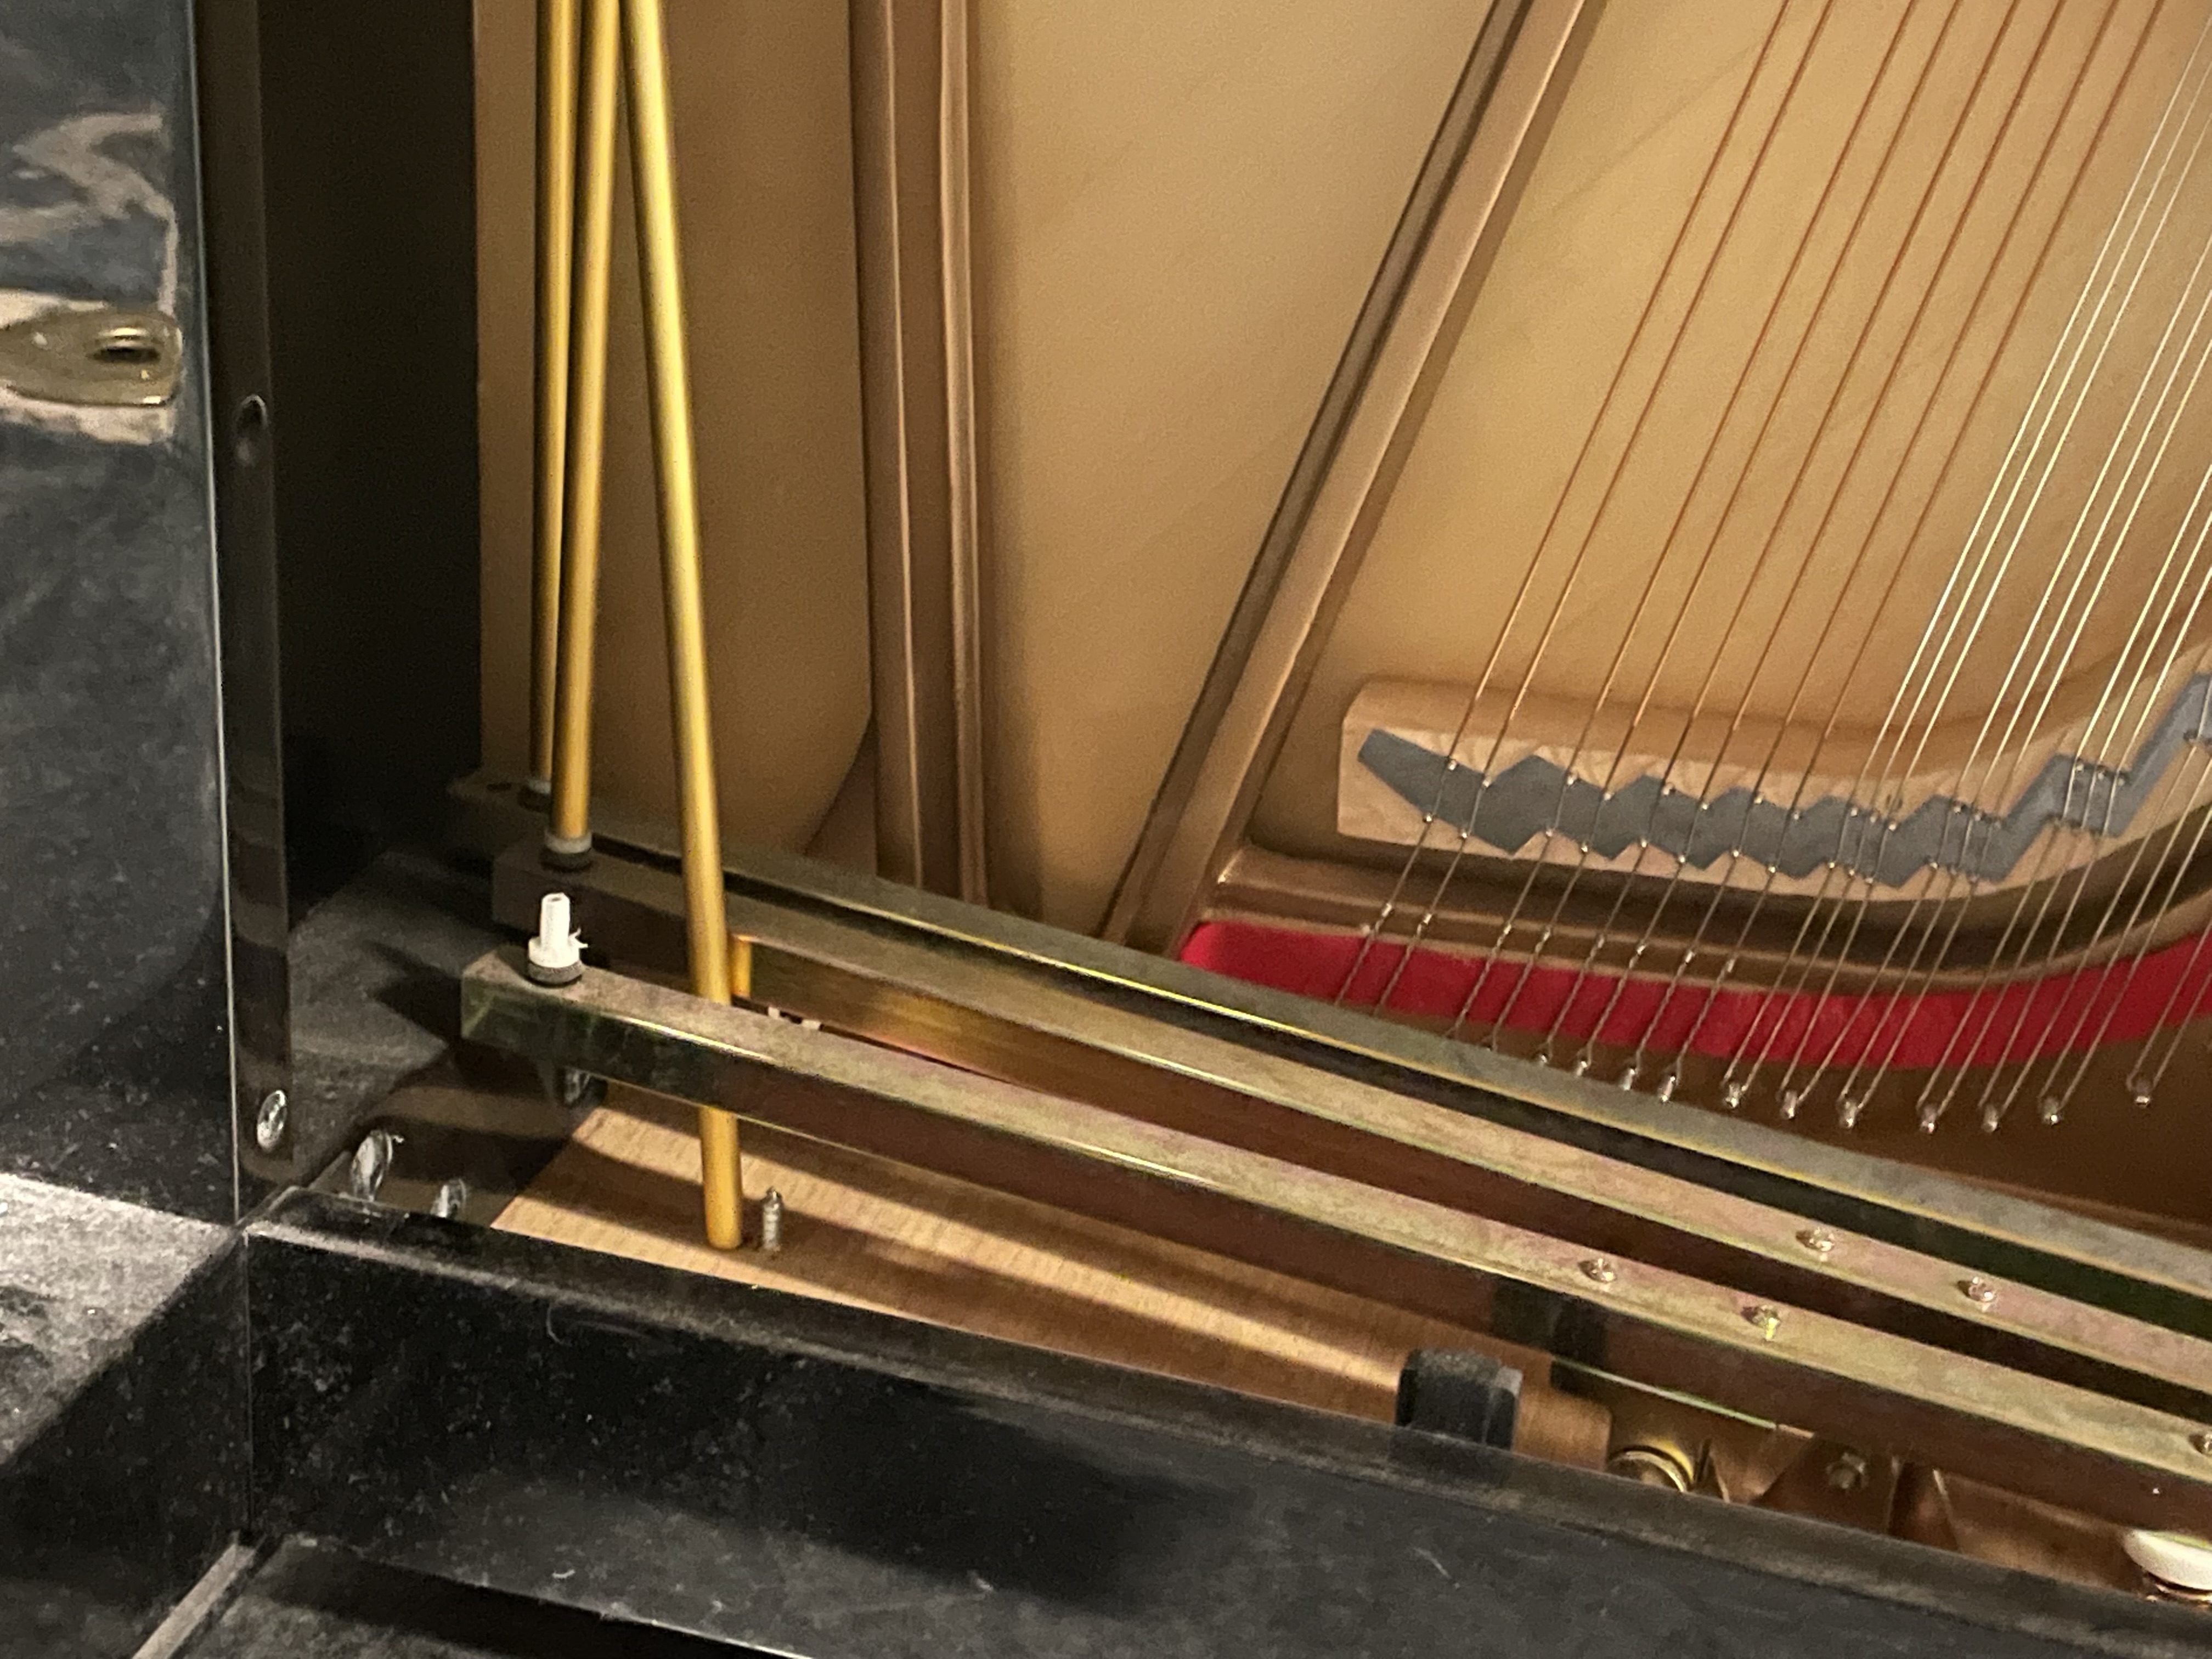
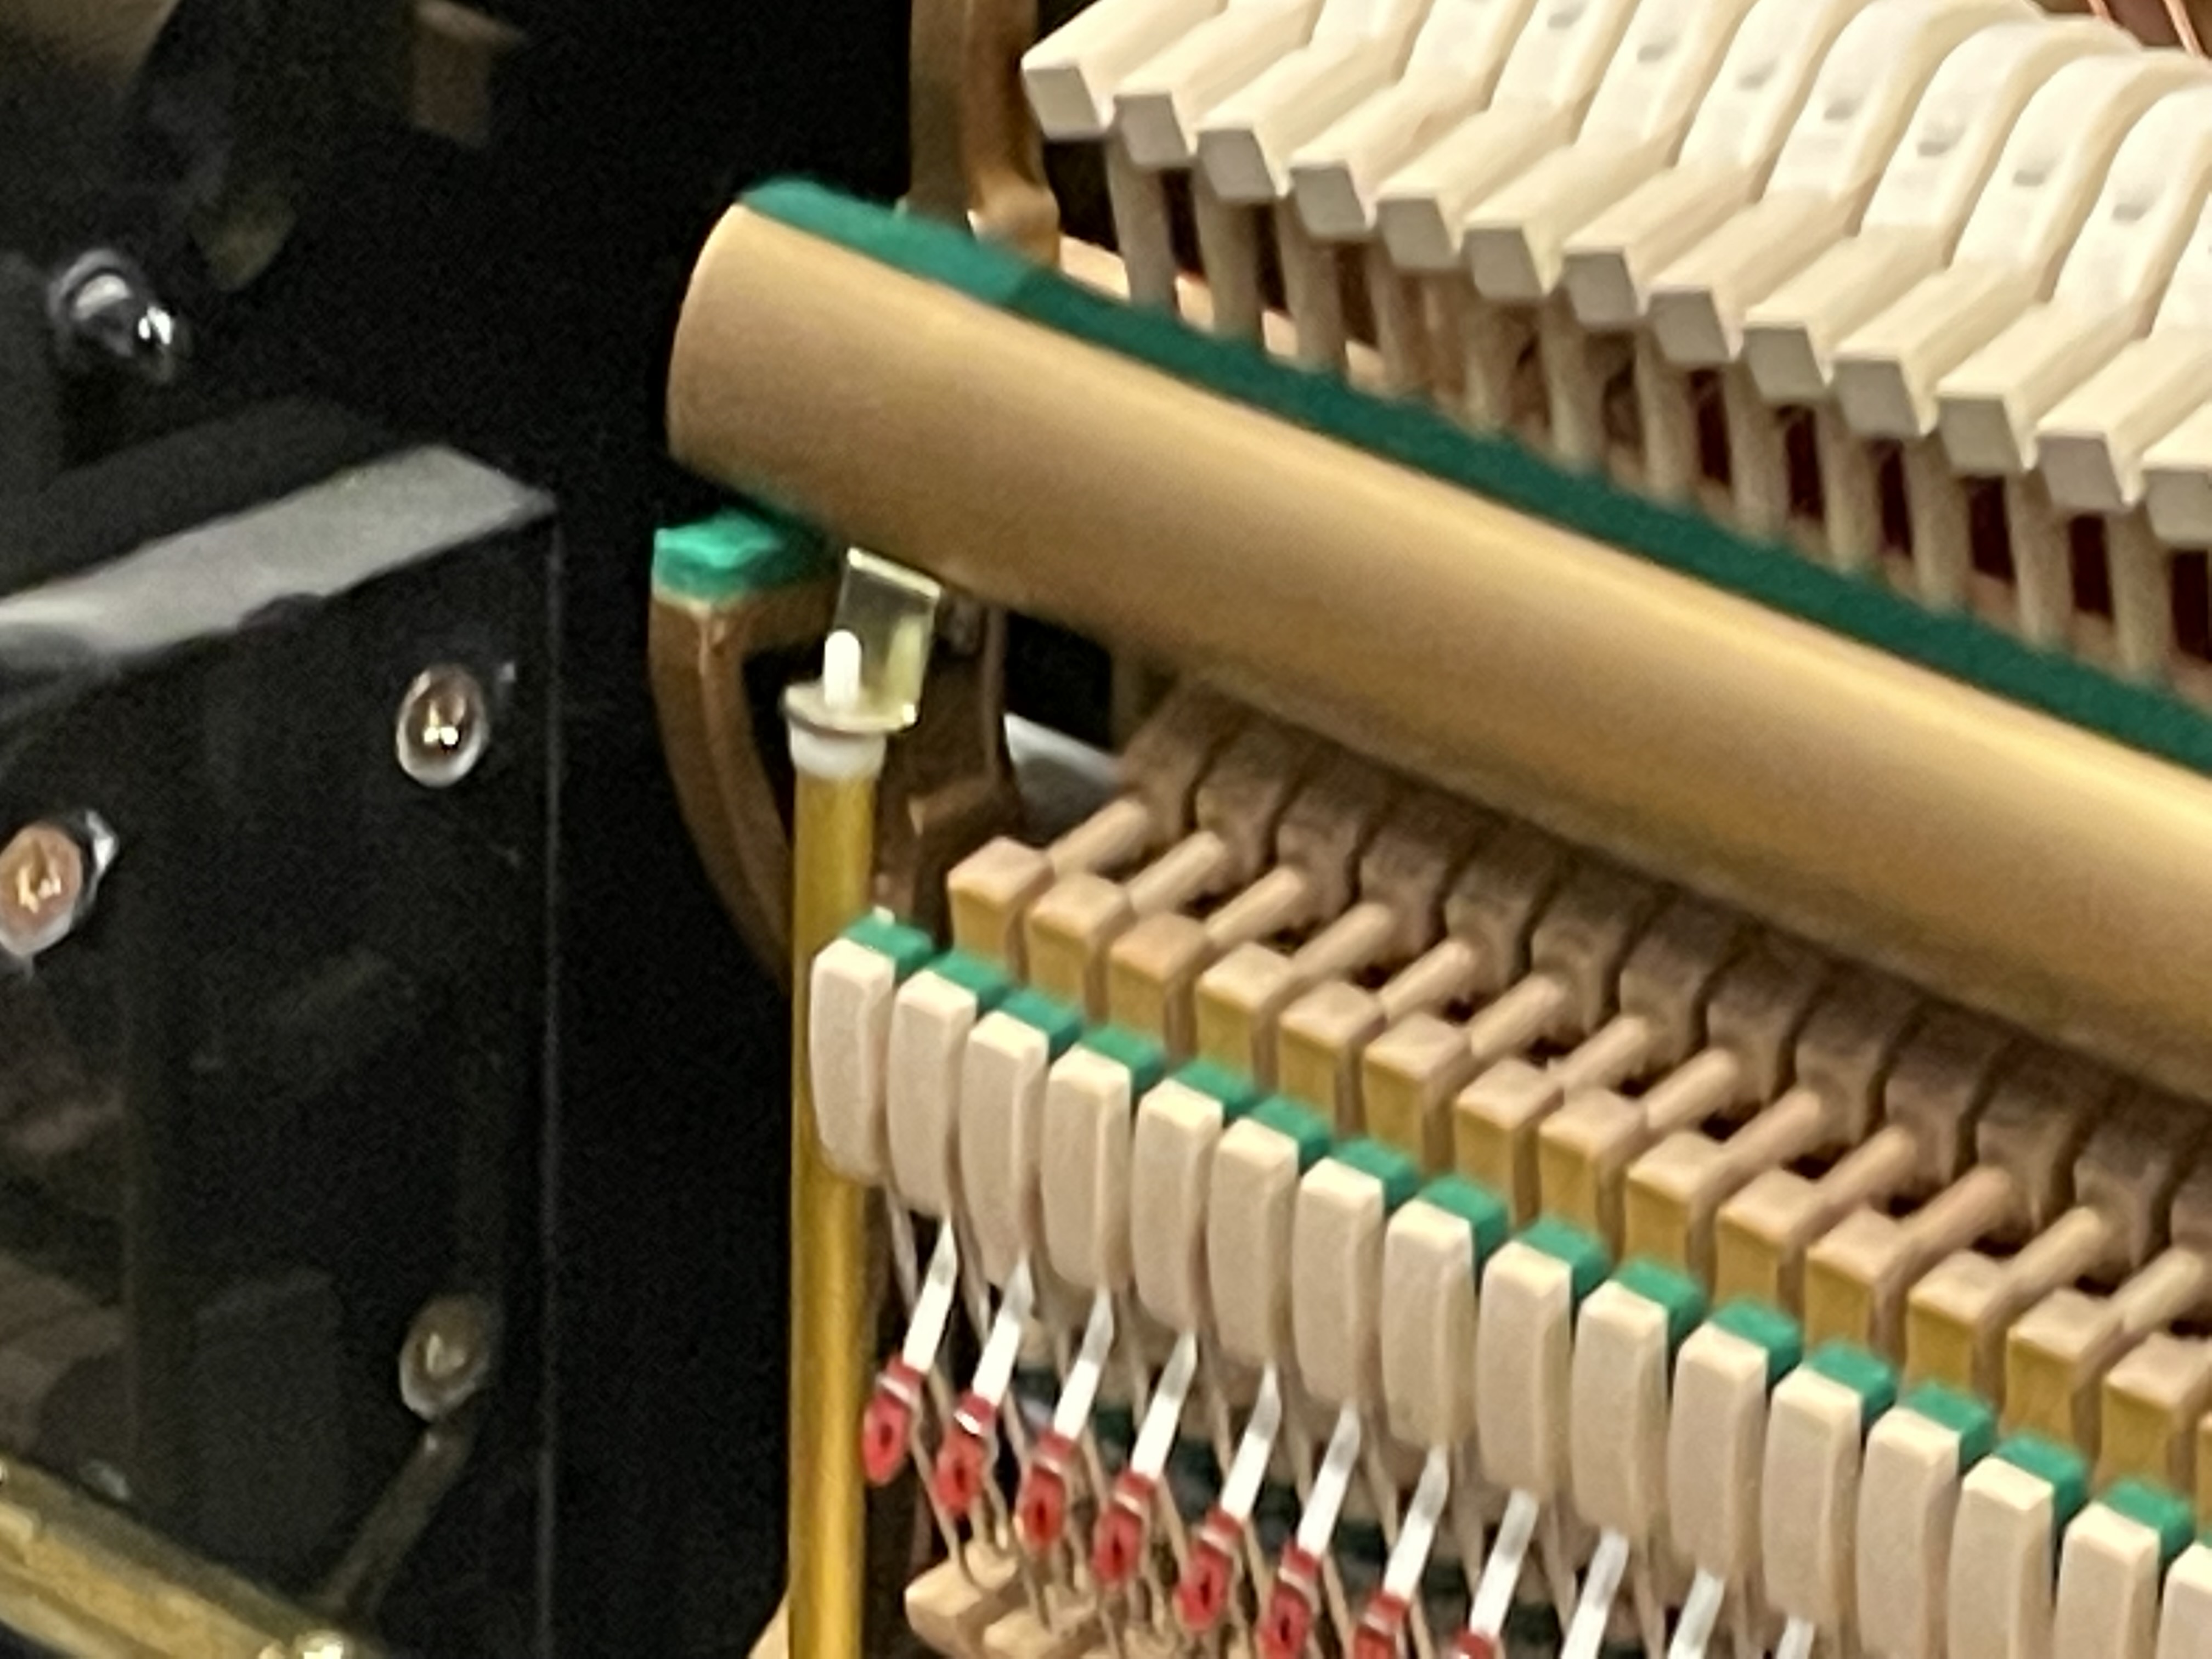 Photo of the Sostenuto rod reconnected and in place
Step 4: Less Easy Repairs
Now onto the main issue we came into the session wanting to fix: the broken Eb key.
Before we opened it up, we thought that something might have happened to the string and that would potentially have to call in a professional to deal with it. However, once we looked inside, the situation was a lot better than we thought it would be, though not quite as easy or straightforward as fixing the Sostenuto pedal rod.
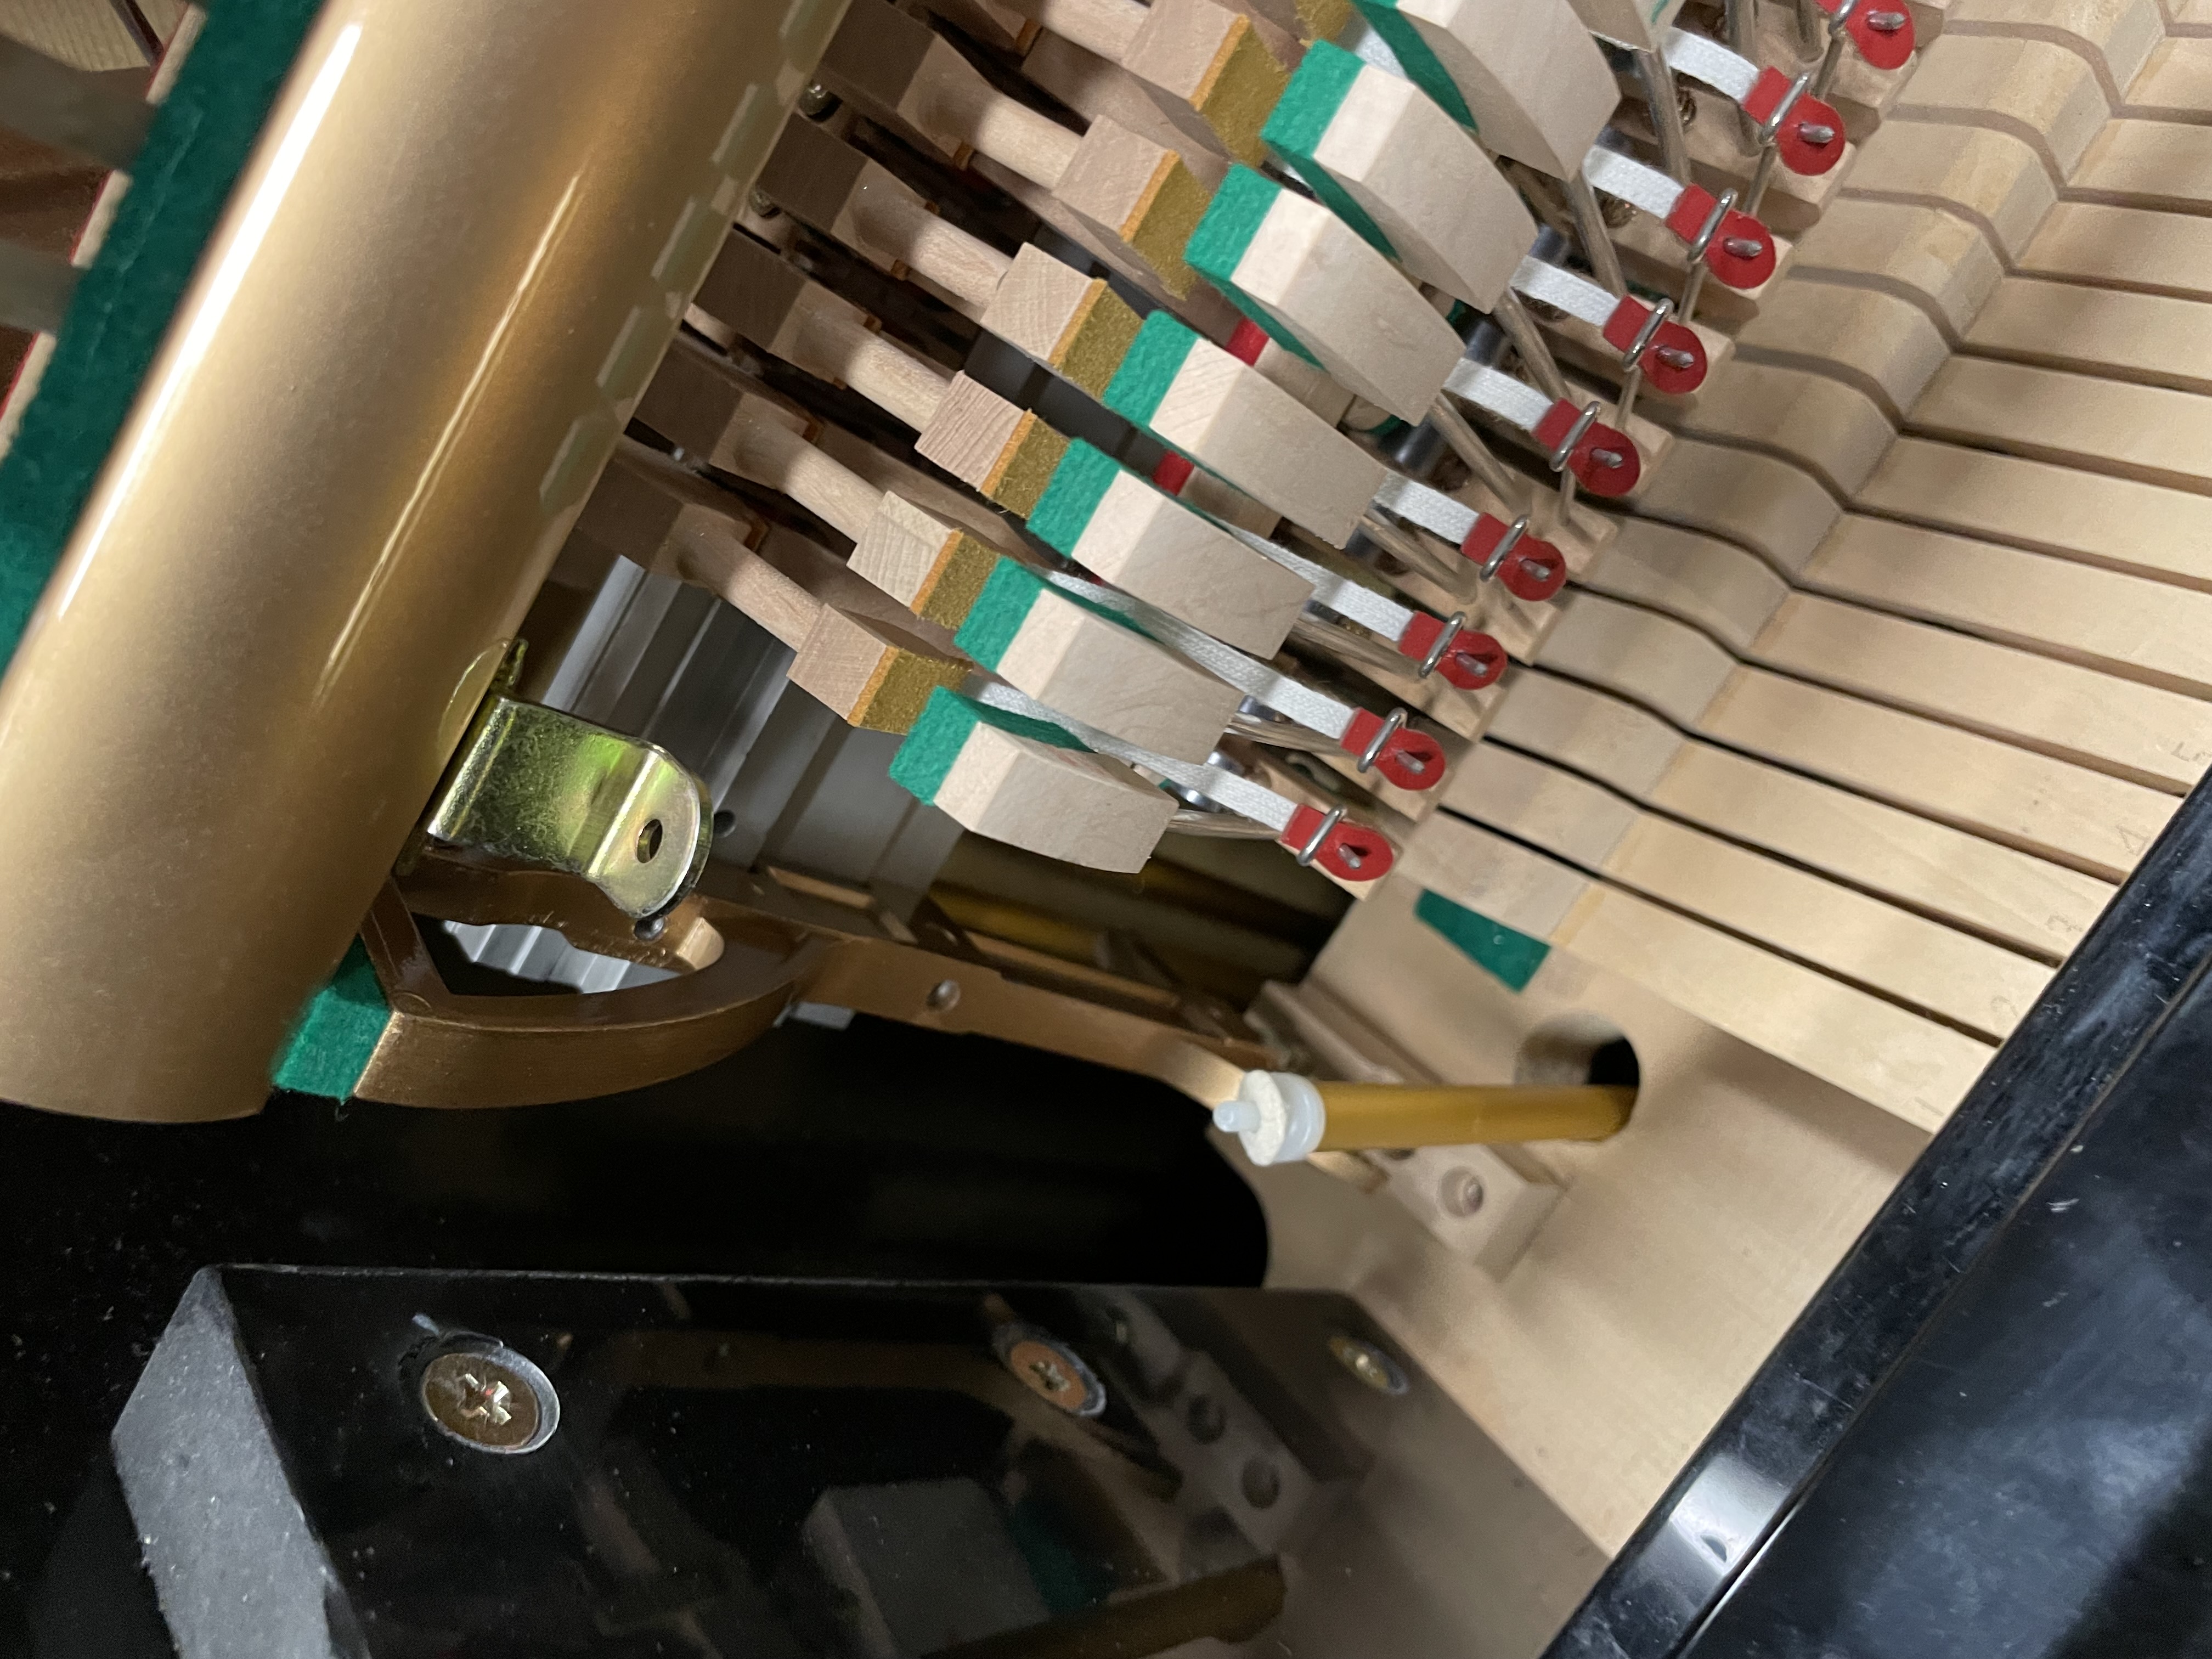
One of the things we quickly discovered was that the spring of the broken key was stretched significantly more than it’s neighbors. In addition, when the note was being hit, it was not able to trigger the hammer like the notes around it.
 Misaligned Spring in Piano
We tried messing around with it for ~20 minutes, trying to squish and realign the spring and hammer back into place using a screwdriver to get into the tight spot, but we were unfortunately unable to fix it in the time we had that day.
So What’s Left?
We mostly focused on the low hanging fruit this week: repairs that were easy for us to do quickly without much risk of accidentally messing up and damaging the piano. We’ve planned on meeting up on Thursdays after school to keep working on the piano until it’s at least mostly back to it’s former glory.
Next week, we’re planning on properly taking the hammers out of the instrument so that we can more easily get to and try to fix the broken note. And outside of that, the Tuning Hammers that my teacher ordered should be arriving around that time as well, so we’ll also be retuning it as soon as we are done with these fixes.